Ever had projects that like to curl up at the ends? Or maybe your tension didn't work out evenly. All is not lost, you can block your knitting and fix these problems. I'm notoriously bad for not blocking my stuff but it's
really quite easy to do. There are three ways to block your items. Wet blocking, spray or spritz blocking, and steam pressing.
really quite easy to do. There are three ways to block your items. Wet blocking, spray or spritz blocking, and steam pressing.
Fill a sink or large bowl with cool to lukewarm water, make sure it is big enough to hold whatever you are blocking. Add some gentle soap to your water and swish it around a bit. Be sure that your items are thoroughly wet. Let it soak for 15-20 minutes.

Drain the sink/bowl, then press the excess water out of your items. Don't wring it out. Lay your items down on a towel and roll the towel up around your finished pieces. Leave rolled up for a few minutes then unroll. You want your items to be damp, but not wet. Repeat if too wet. Next you will shape your articles. Lay them out flat and use your hands to gently shape. You can pin down the edges if they are curling or you need to stretch it into the right shape. Leave it for a day or two so it can fully dry.

Spray blocking
Pin your finished items into place. You can also use blocking wires to straighten out any edges. Using a spray bottle get your items thoroughly wet. Leave to dry.
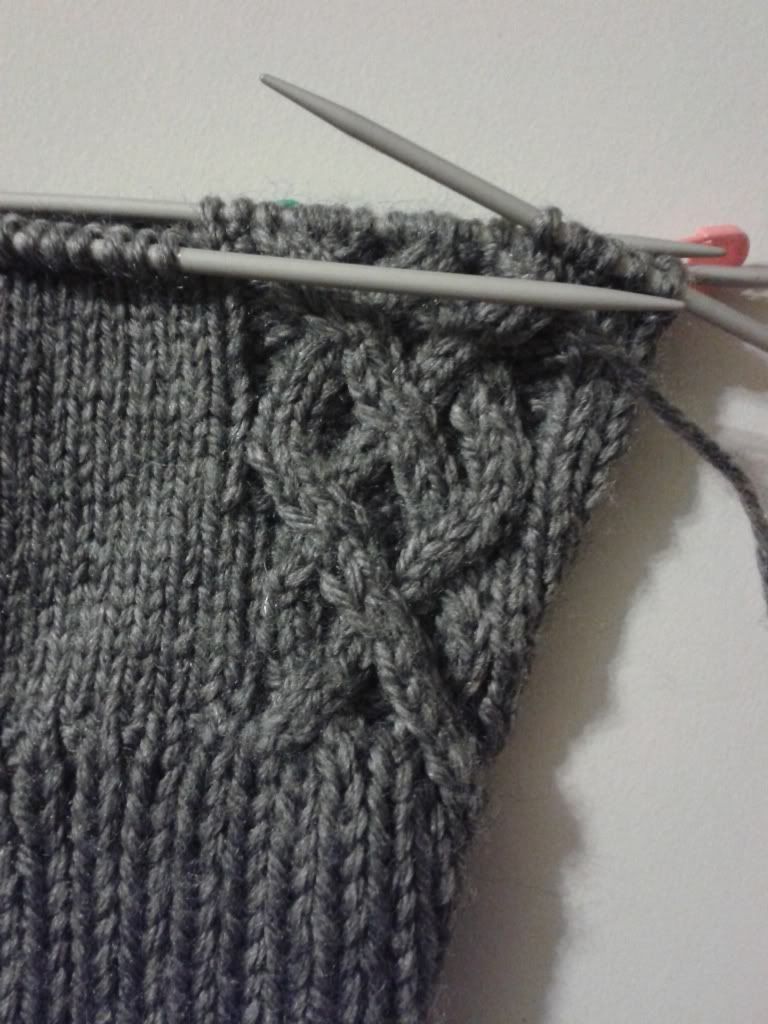
 |
| Photo by Caitlin Ffrench |
Steam pressing
Pin your items into place. Lay a damp towel over what needs to be blocked. Place heated iron on the damp towel and allow it to rest for a second. Re-position the iron on the towel. Make sure you lift the iron rather then sliding it. Be careful not to apply too much heat as it can damage certain fibers.
For more information on blocking : http://www.runedesigns.com/2008/12/blocking-notes-intro/