Monday, December 23, 2013

Lil Santa hats


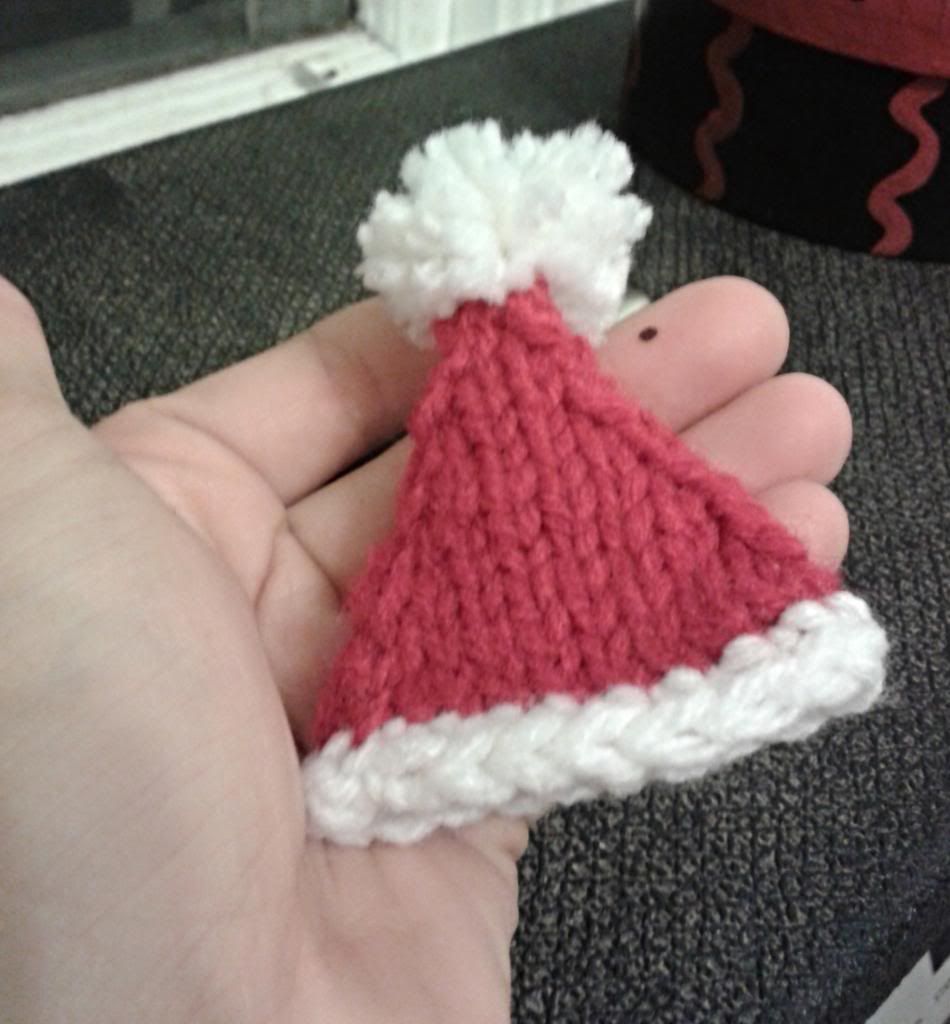
My workplace has been treating me pretty well for the holidays.  First I got a week and a half off. Which is awesome, having worked through Christmas and New Years for the past few years.   Next the ladies at work got everyone a Christmas card complete, with gift cards.  My gift card was for Micheals, the ladies know me so well!  I needed something that I could whip up for them overnight, before we left for the holidays.  A customer had made each of them a little guy folded out of a pop can and it seemed like the perfect place for a little Santa hat. It was really easy to make and took me about an hour or so from start to finish.

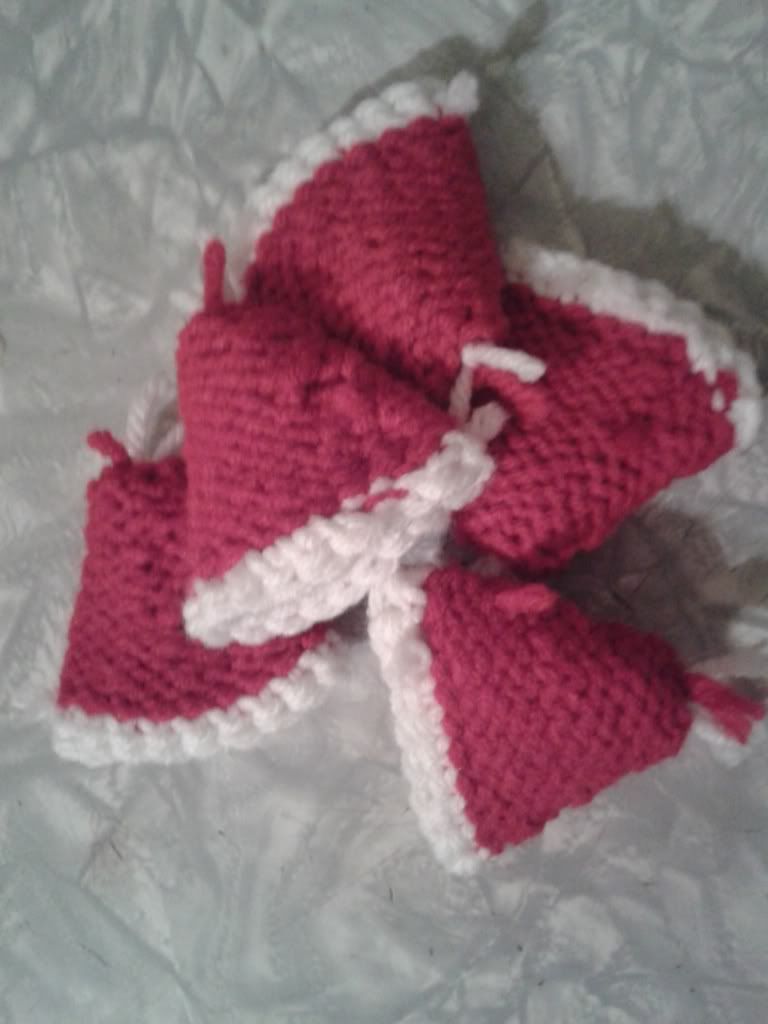
Finished item measures approx. 3" from cuff to tip of pom-pom x 5" around un-stretched

Materials


- scrap yarn in red and white
- 4 double pointed needles sized 5mm/US 8
-tapestry needle

Abbreviations:

Sts - stitches
CO - cast on
BO - bind off
K - knit
PM - place marker
K2tog – knit two together

Hat

Using red CO 20 sts and join for working in the round. I used three double pointed needles (7-6-7)

Row 1: K10, PM, K10
Row 2: K to end Row 3: SSK, Kto 2 before marker, K2TOG, repeat
Row 4 - 5: K to end
I usually go down to 2 needles on row 9, leaving 4 sts on each needle.
repeat last 3 rows until 4 sts left.  Cut yarn and weave through remaining sts.
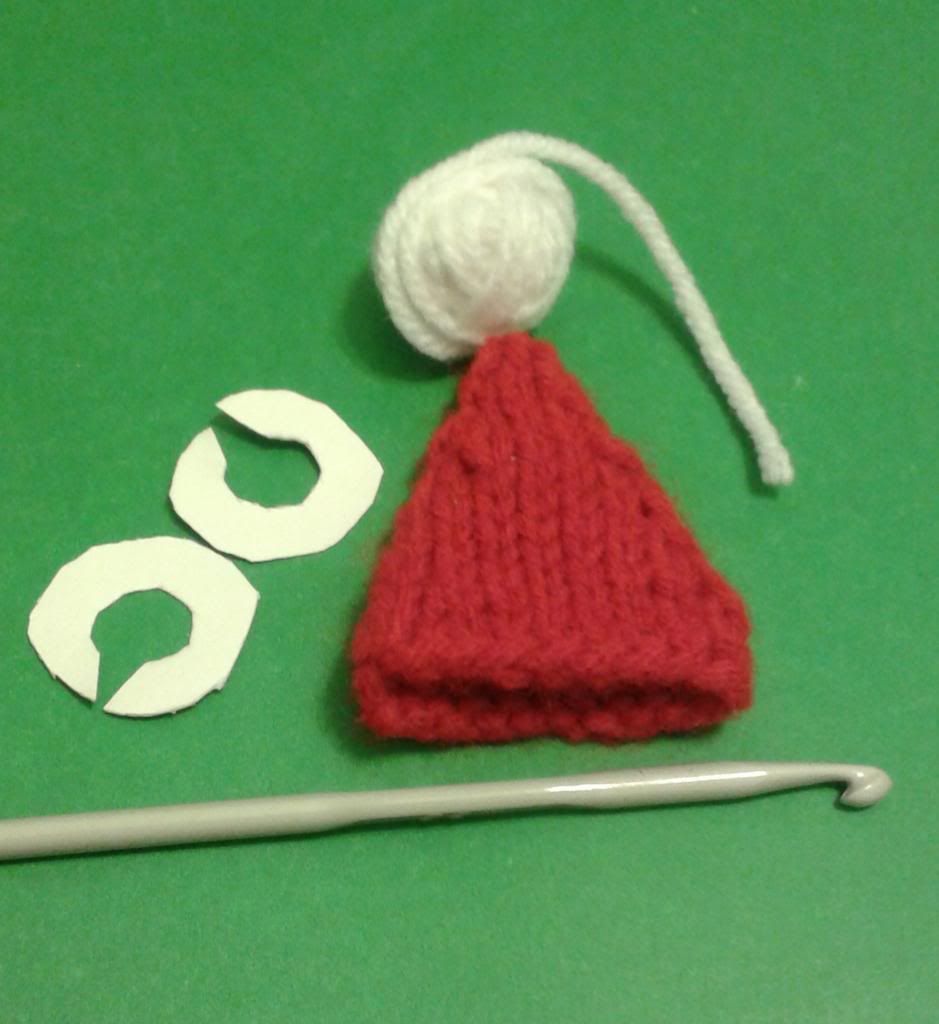

Cuff and Pom-pom


You will need the hat body, some scrap white yarn, size 4.5 crochet needle, and two small pom-pom makers.  (I make my own out of cardboard.)


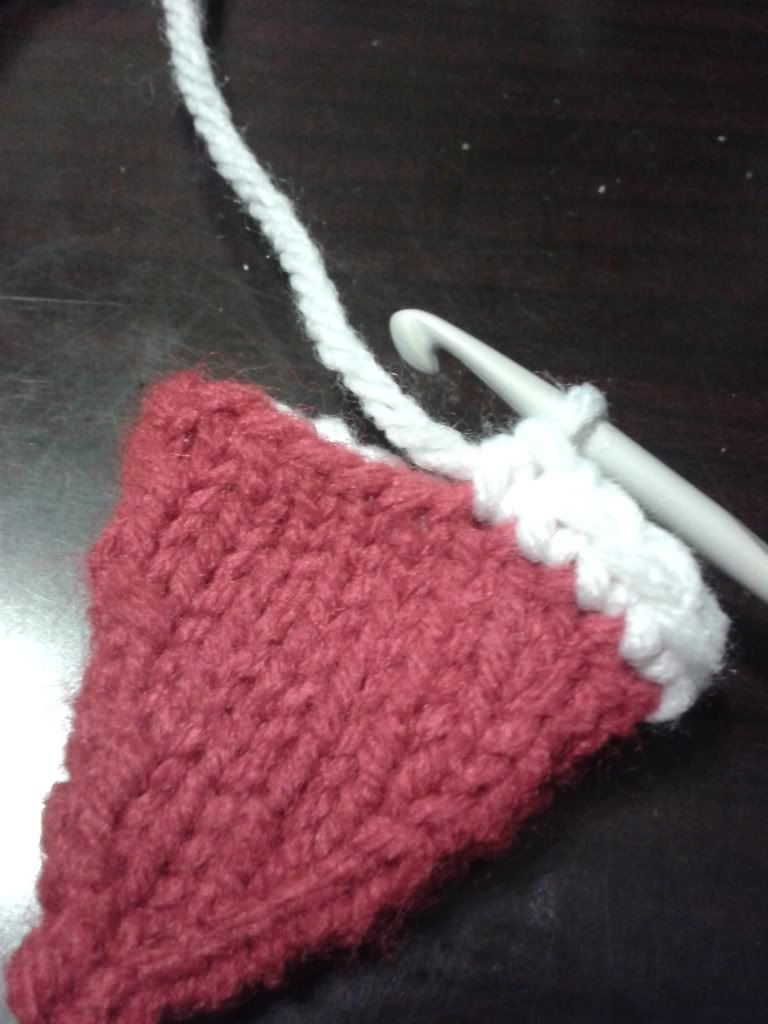
Using white, work 1 row of SC around cast on edge of hat.

Using white make a pom pom.  Attach to top of hat.  Weave in all ends and voila! You have a Lil Santa hat!  
Now come the endless possibilities of where to put it!  I plan to spread the joy and yarn bomb the places I visit over the holidays.  Leaving a bit of Christmas cheer behind.  Pro tip, anytime I`m transporting a hat with a pom-pom, I turn it inside out to preserve the fluffiness.

Merry Christmas and Happy Holidays from Not Your Grandmother`s Knitting!


Go home rum, you`re drunk.


Sunday, December 15, 2013

Rainbow Mittens

One of my previous patterns, the rainbow fingerless gloves, have been getting quite a lot of attention.  People go wild for them!  They love the pattern, they love the gloves, and I have even received a request to make some rainbow mittens.  So I did!  They are so easy to make I thought I would share the pattern here.

The pattern is for some basic mittens with a rainbow colour scheme, worked in the round with double pointed needles.  

Materials:

One skein of each colour of the rainbow.  Red, Orange, Yellow, Green, Blue, Purple.  I used Red Heart soft
yarn (gauge:17st x 23r = 4in(10cm) on size US 8/5mm needles)

Abbreviations:

Sts - stitches
CO - cast on
BO - bind off
K - knit
P - purl
PM - place marker
M1 - make one, pickup and knit thread from between 2 sts of last row.  
RH - right hand
LH - left hand
K2tog – knit two together

Gauge: 23 sts x 22 rows in 4"x4" on size 5 (3 3/4mm) needles.  Adjust needle size to match gauge.

Wrist

CO 40 sts purple.
Row 1-13: (K2, P2) repeat to end.

Change to blue.
Row 14: K to end.
Row 15 - 27: (K2, P2) repeat to end

Thumb gusset

Change to green.
Row 28: (RH) K2, PM, P2, M1, K2, M1, P1 PM, K to end.
              (LH) K34, PM, P2, M1, K2, M1, P1 PM, K to end.
Row 29: K to marker, P1, K to last st before marker, P1, K to end
Row 30: K to marker, P1, M1, K to last st before marker, M1, P1, K to end
Repeat last two rows until there are 16 sts between markers
Row 41: K to marker, P1, K16, put last 16 sts on stitch holder, K to end (38 sts)

Change to yellow
Row 42: (RH) K3, CO2, K to end.
              (LH) K35, CO2, K to end
Row 43 - 55: K to end

Change to orange
Row 56 - 65: K to end
Divide sts evenly between 2 needles (19 sts each)
Row 66: SSK, K to last 2 sts on needle, K2tog, repeat
Row 67: K to end
Row 68 - 69: Repeat last two rows.

Change to red.
Row 70: K to end
Row 71- 81: repeat decrease pattern from rows 66 & 67
Row 82: K to end
                                            BO using Kitchener stitch.

Thumb

Pickup 26 sts from sts holder and 2 CO sts from row 42.
Row 1 - 7: Using yellow, K to end.
Divide sts evenly between two needles, (9 sts each) making sure the 2 CO sts are on seperate needles.
Row 8: SSK, K to last 2 sts on needle, K2tog, repeat to end
Row 9: K to end
Repeat last 2 rows two more times.
BO using Kitchener stitch
Weave in all ends.

Bam, now you can be all happy and warm in your new gloves!  If there are any questions or comments please feel free to contact me.